QRDude User Guide: 2D Panels
Location of controls...
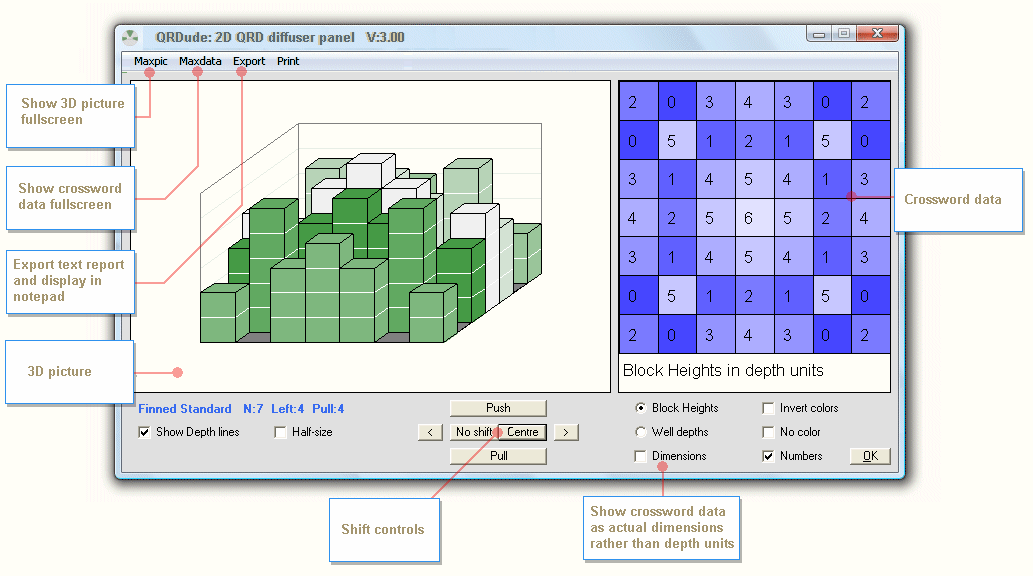
2D screen - default settings
2D mode uses the following settings from the main screen:
- Number of wells
- 2D build depth
- Fin width
- Inverse or Normal
- 2D depth optimising on or off
Crossword Area
The colors used for the crossword area are blues for block heights or reds for well depths. By default, deeper wells are shown in darker colors, but the inverse colors can be used, as can the no-color option, by ticking the appropriate checkboxes.
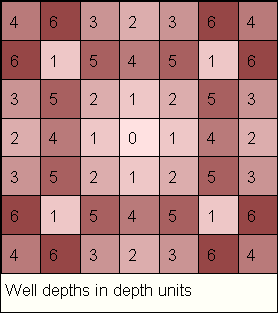
Well depths displayed in shades of red
When the dimensions checkbox is ticked, the crossword area is expanded, covering the 3D graphic. The extra room makes it easier to read the well sizes, especially when working in inches.
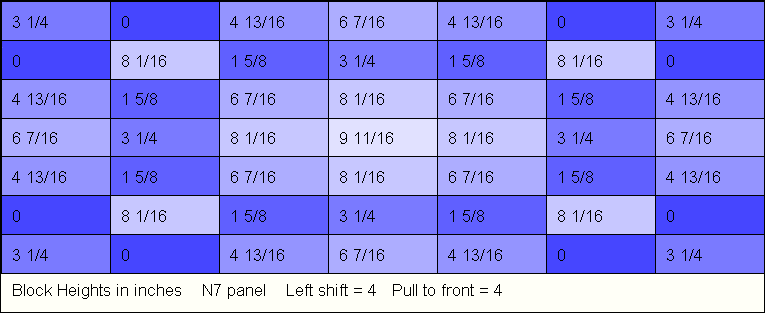
Block heights in blue. Actual dimensions shown on expanded crossword data area
2D Panel color schemes
Color is used to indicate which style of panel is currently being modelled. These panels have been horizontally shifted to produce a symmetrical panel

Normal 2D finned panel vs finless panel (an example of depth lines turned off)
The normal 2D panel has a zero-depth well, so the finned and finless panels have the same block heights and well depths.
The same green colors are used for either variation.
When fin width is greater than zero, the left-side and rear fins are added to the drawing as a visual reminder.
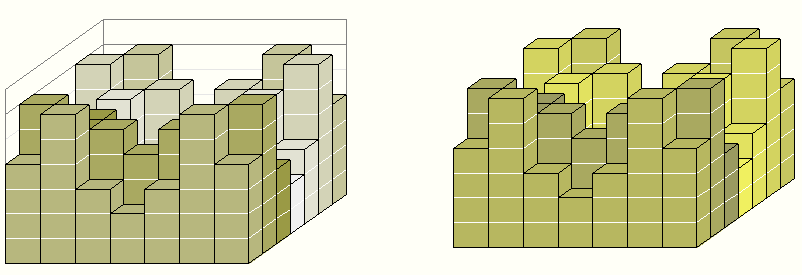
Inverse 2D finned and finless panels
The inverse panel has no zero depth well, so a finless panel will have wells that are shallower by one depth unit. The block heights are the same, but the build depths will be different. A different shade of yellow / brown is used to distinguish between the two.
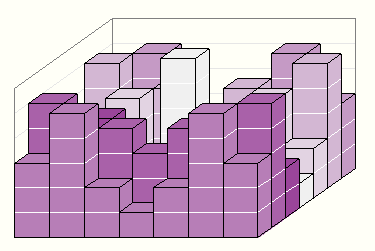
Depth-optimised inverse 2D Panel color scheme
The depth-optimised inverse has the maximum depth well replaced by a zero-depth well (the light colored one in the middle),
and the entire bottom layer is discarded. This panel is drawn in purple. Like the normal panel, the dimensions are not
affected by the inclusion or omission of fins, so only one color scheme is used.
This is the style of panel available from commercial suppliers, and is the default choice of QRDude.
The other two arrangements can be accessed using the Advanced menu option on the main screen.
The non-optimised panels are referred to as Legacy panels
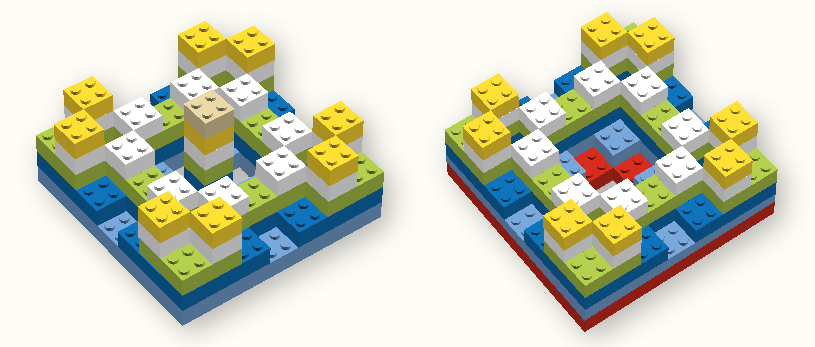
Lego comparison of depth-optimised vs legacy panels
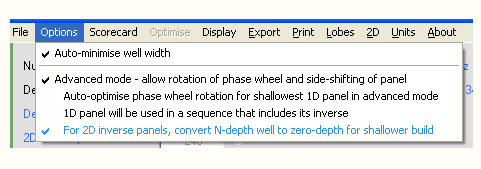
2D inverse options selected from main screen
The shift controls
The shift controls allow the panel build to be started at any position in the number sequence. QRDude automatically clicks the Centre button when you access the 2D screen, giving a symmetrical panel. Assymetrical panels, such as those commercially available, can be modelled by pressing the No shift button

Shift controls
Export
The "Export / Generate 2D report" menu option will create the text file qrdude_2d.txt containing the build
information and weight estimate.
QRDude will then attempt to open this file in your default text editor (normally notepad)
If the fin width is zero, the weight estimate is based on using solid blocks.
For non-zero fin widths, it is assumed that floor plates are used at the bottom of each well, and that these are made
of the same material as the fins.
Note that the reported dimensions and weights do not include any backboard.
When building with fins, a backboard can be used, but a more common option is to use a slightly larger floor plate to sit across
the bottom of the fins for the maximum depth wells. This results in a panel that sits off the wall by the thickness
of these plates.
Another option would be to make the fins deeper by the thickness of the plate, and fit a standard sized plate
between the fins as is done for all the other wells - a neater finish, but a little heavier.
Some future version might offer a choice of build style, but for the moment, you'll have to do this bit manually
Maxpic screen
For those keen on eye candy, the maxpic screen shows the 3d panel fullscreen. Click any mouse button or press any key to exit.
Maxdata screen
The maxdata screen is intended as a construction aid, and is particularly useful for building panels when there is a computer available next to the build area.
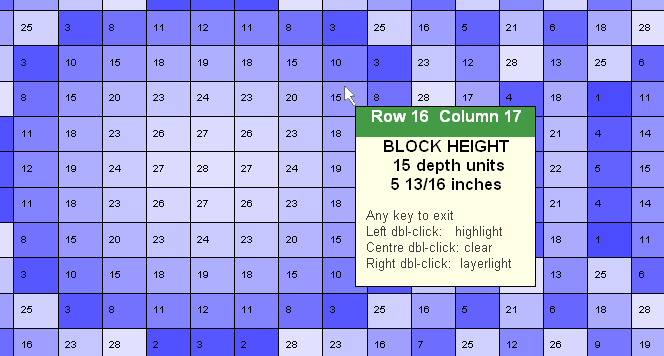
Partial maxdata screen for an N29 diffuser
The maxdata screen shows the crossword style data panel fullscreen. The colors used are the same as used for
the crossword area on the 2d screen, ie blues for block heights, reds for well depths.
If the dimensions
checkbox is ticked, the actual sizes will be shown rather than depth units.
Since the detail on higher order panels can be hard to read,
particularly when working in inches, a floating panel has been added.
This shows the following information for the well under the cursor:
- Well location (row and column)
- Background color of location field is the same as that used for the 3d drawing as a reminder of panel type
- Indication of block height or well depth
- Well Height or depth in depth units
- Physical height or depth in mm or inches
When building the panel, it is handy to make an adjustable jig to set the position of the floor plates for each well. This leads to all the wells of the same depth being done before moving on to the next depth. Double-clicking the left mouse button on any well highlights all wells of that depth in yellow, making it easy to find 'em all...
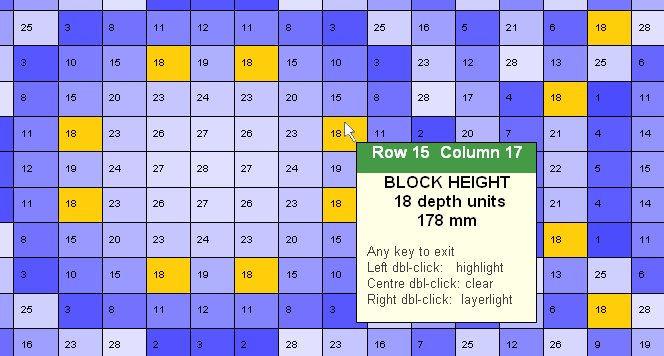
Maxdata screen with cells highlighted (after left double-click)
Double-clicking the right mouse button on any well will highlight all those wells as before, but it will also replace the colors of the other wells. Wells that are deeper than the current well will be shown in a light shade of color (blue or red depending apon whether you are working with block heights or well depths). Wells that are shallower than the current one will be shown in white.
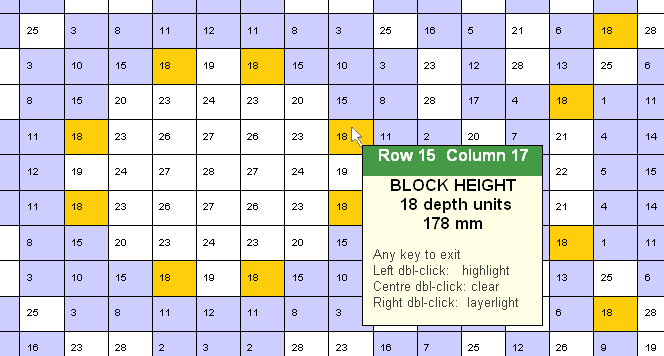
Maxdata screen with cells and layers highlighted (after right double-click)
As you are gluing in the floor plates for the current depth, the wells shown in the light color should already
have been completed (assuming you build the deepest wells first). This provides a quick check that you haven't missed any.
If you build the shallowest wells first, you can swap the layer colors by ticking the
inverse-colors checkbox on the 2d screen.
Regardless of which scheme you use, the highlighting can be cancelled by double-clicking the wheel on your mouse.
If you don't have a wheel mouse, you will need to exit the maxdata screen and come back in.
Since the mouse buttons are reserved for highlighting, you need to press a key to exit the maxdata screen. Any key will do.
A few photos
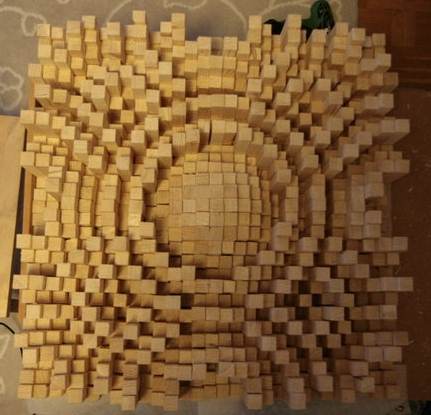
Finless N29 by Swedish builder Petter Persson
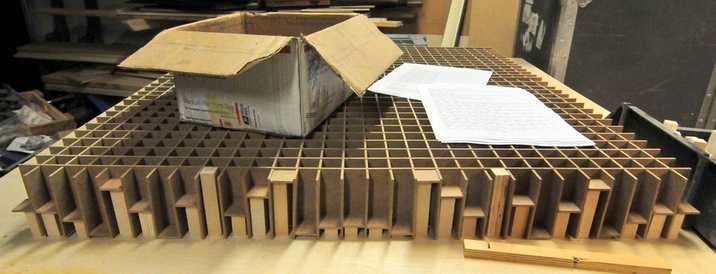
Work in progress: Finned N29 by US builder Lonely Raven using plates for the well bottoms rather than blocks
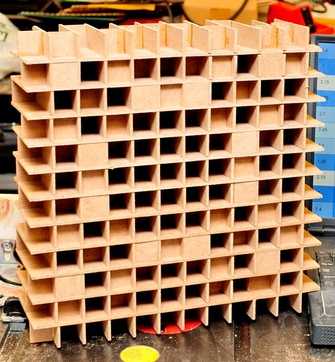
Lonely Raven's partial build of an N13 as a proof of concept prior to embarking on the N29
A small treat to finish with...
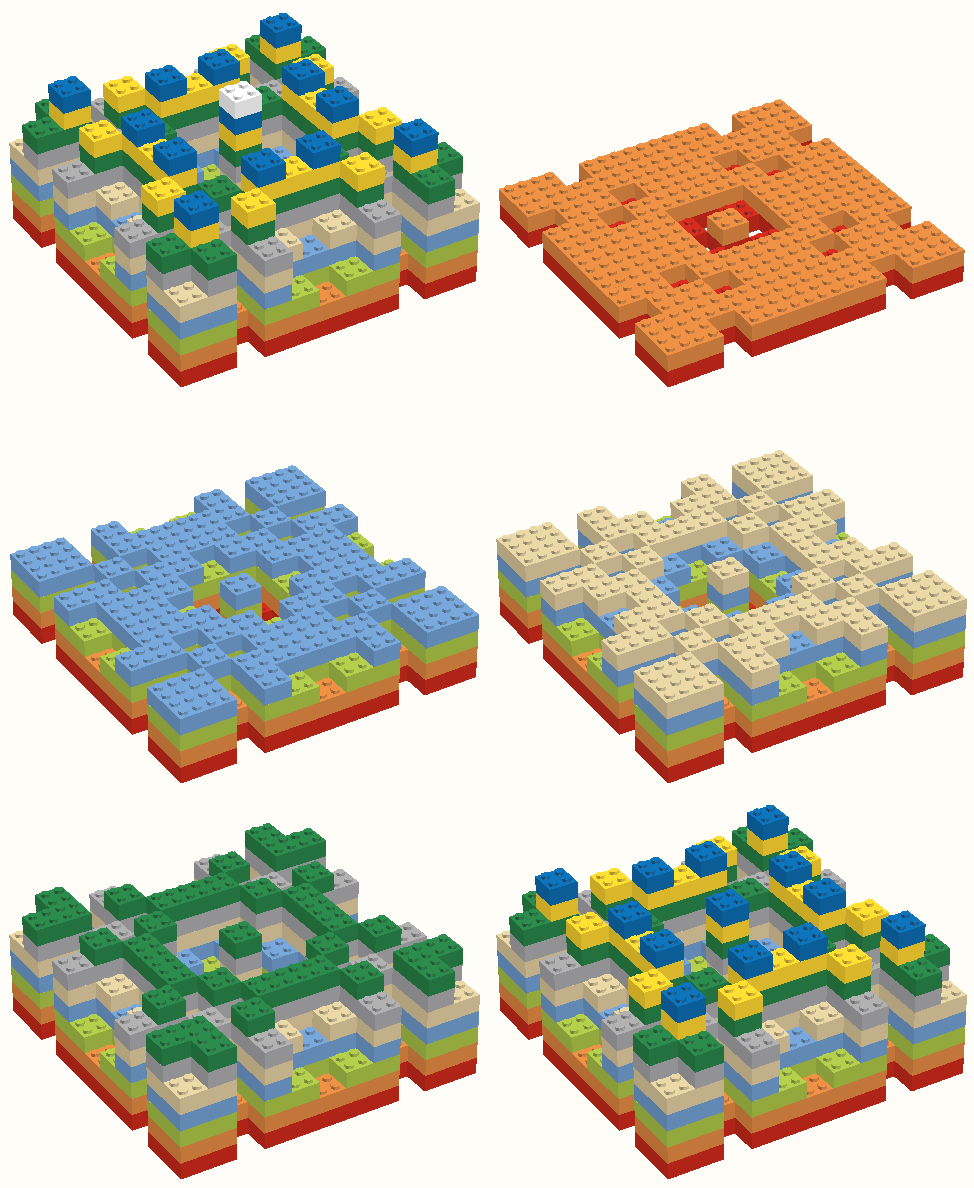
Animation of building a 2D depth-optimised inverse N11 using Lego
